Introduction
Labs are my attempt to help people in exploring their web development imagination. As a front-end developer, I’m continually searching for new personal projects to learn something new. Often, work projects are combinations of things that you can’t fully control: old technologies, shitty colleagues, even shittier management or clients. I’m not the kind of person who complains that life sucks and waits for a miracle to happen. Usually, I look for the things over which I have the most control, and I put my energy there.
If you feel the same, labs are a great way to improve your web development skills. You will have enough information and guidance that you won’t feel lost, and at the same time, you are free to follow your imagination as much as you want.
Labs are a great way to improve your web development skills!
Tell me more about labs
Labs are a comprehensive approach that will help you to start and finish a personal web application. The lab comes in with a proper graphical UI design. You get a set of requirements, acceptance criteria, and tips to help you progress.
The labs are for organized people; if you are not one, don’t worry, I’ll have another post soon with an excellent learning plan for lazy people like me. I encourage you to use the requirements as a general guide and then create your path. Add new fabulous features and enhance the applications with your crazy ideas. Add additional acceptance criteria to make sure your application covers lots of engaging scenarios.
You get a mission, and you get to decide how you want to accomplish it. You choose your frameworks and libraries, or maybe you want just to implement a static prototype that puts your CSS skills to the test. You decide what you want to do and how to do it.
You get a mission, and you get to decide how you want to accomplish it.
Lab structure

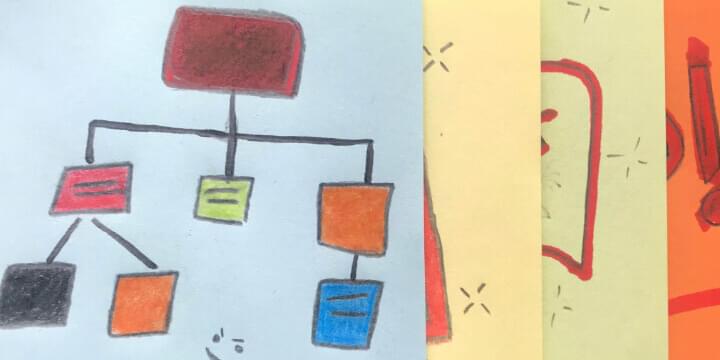
A lab is structured quite simply. You get an overview of the application that you’re about to build; this is a high-level description that will help you understand the mission.
Requirements

Once you understand the high-level overview, we are diving directly into detailed requirements. I’m splitting the requirements into chunks grouped by features. Each of these features has an image that will help you create a connection between requirements and the Figma design. Some of the requirements may also include acceptance criteria. You may think of acceptance criteria as helpers that give you more info to make sure you are going in the right direction.
The critical thing to remember here is that you can choose to add or remove requirements based on how you envision your final application. Experiment with different addition and see how the application feels. There is a lot of room to experiment with details or even high-level features; take advantage of this, and create your unique application. You may end up with an app that is way different from what Figma design may make you think it should be at the end of the road.
Acceptance Criteria

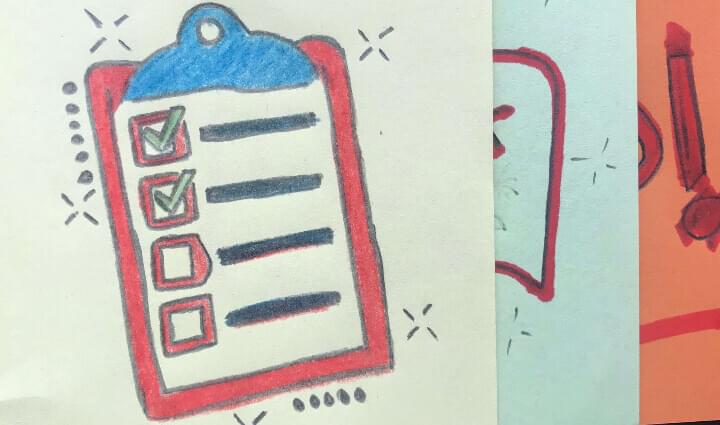
Acceptance criteria give you some specific goals that you need to achieve to consider a requirement completed. If you are working on a login button, you should define some rules that will say, “Hey, you’ve finished the button, you can move on.” Maybe for you, the button is finished when you manage to login into the application. Or, perhaps you are working on a prototype, so the goal is to have only the styling in place. No matter how deep you are going into details, acceptance criteria help you define the end line and tell you when to move on.
You control the flow and the end goal.
It is essential to manage your acceptance criteria. If you decide you want to do some extra features, define them very clearly to know when you have finished so that you won’t lose your precious time strolling around. It’s ok if, at some point, you discover your previous feature is not entirely ready. You can write additional requirements with additional acceptance criteria to follow up on your new ideas. In this way, you control the flow and have a clear picture of the things you are doing. This approach will help you save precious time and will keep you always on the right track.
Tips

Depending on how much experience you have, you may enjoy some tutorials if you want to build your application with a specific framework or library. I’m adding links to various tutorials that may help you make the app. An important note, though, the tutorials I may link to my labs may not be enough if you are a complete beginner. You’ll have to search for more materials on a specific subject until you learn it and then get back to the lab to test your new knowledge.
Labs are more of a fighting ground.
Labs are more of a fighting ground where you can test and improve your technical development skills. I will guide you with external links to tutorials. Still, you have to identify your week spots and search for tutorials on platforms like Uedemy, Ccodecademy, Youtube, or many others.
For labs to be useful, you have to prepare your path before starting working on the project. Most of the requirements will be grouped by page or by significant features. You may not have the time to work on a single page at once, so you need to break the work into smaller chunks that can take up to 30-45 minutes.
Prepare your path before starting an extended mission.
See my first lab, which also has a feedback form at the end. If you think this general idea of labs is interesting, help me make it better by completing the lab feedback form. I have more labs waiting to be brought to life, but I want to make sure they are getting you the value you need.
Thank you and stay cool!
